Showing posts with label paper tape. Show all posts

Thursday, August 8, 2013

Gorgeous Grid by Tina Walker

Hi!  Tina here today!

Grids are seriously one of my favorite design styles.  They can be used in so many ways and they always look fresh and fun!

To create the grid on my layout today, I used the 'Perf Mark' stamp. I stamped it 4 times in the center of my page, then began 'filling' each square with JBS goodness.  :)


I used 'Notebook Grid' (which is one of my FAVE paper tapes EVER) and 'Bleached Woodgrain' Paper tape for several of my grid squares and paper from 'Wren - Blueprint' for the other grid squares.


I wanted to add some dimension to my layout, so I punched several Quilt Stars and added them to my page with foam tape.  For more interest, I added Blue Pearl buttons and several of the new JBS sequins to each star.

My layout needed some 'flash', so I added several of the new JBS Gold rub-ons.  I {heart} the Gold Bubbles and Tiny Trims rub-on's.  They are divine!

I finished my layout with a pop of RED and viola!


Thanks for stopping by today!  Have a wonderful and crafty Wednesday!


Monday, May 6, 2013

It's Raining Cards!

Did you know the first of May marked a birthday for none other than our own Jenni Bowlin?!  And to celebrate our design team created wonderful cards and we'll be sharing them here!

The first is from Leah Farquharson:


Sending lots of birthday wishes out to the fabulous and talented Ms. Jenni Bowlin. She's an inspiration for any woman in the industry...

I wanted to offer up a little bit of inspiration in this post and mention that I actually lifted a few of the ideas from my last layout to create this card - because if you love something, it's worth repeating! To speed up the process, when I cut my feathers last time, I cut a whole page. It's an element that I love using in projects right now, and they'll never go to waste! :)

Here's a closer photo of the modeling paste detail...


Supplies:

Paper Tape - Houndstooth

Paper Tape - Sideways Chevron

Vintage Mini Deck - Basics

Skinny Alpha Stickers - Red

Skinny Alpha Stickers - Grey

Rhinestone Stars - Red

Tuesday, April 30, 2013

for Mom from May


May Flaum here, getting started on my Mother's Day cards with the fabulous new paper tapes from JBS.

I love layering strips of tape and then either punching, die cutting, or layering with another piece of paper in some way! I think it is a fun way to use lots of tape and I always love that I can't quite predict the exact outcome since I'll be seeing only part.


Here you can see I put strips of tape onto a piece of cream cardstock, then I took my favorite kraft JBS paper and cut a heart out so that I could layer it over the top of my tape strip paper.


I stitched around the edge (a totally optional step), then used some ink around my edges, used rub-ons for my sentiment, and stamped pieces of this album stamp that I'm loving as well.


Whether alone or together - I sure do love all of my paper tapes!


Supplies:

Die-Cut and Perforated Papers - Stamp - Kraft

Rub-ons - Printer's Block Alpha

 Clear Stamp - Photo Album

Paper Tape - Bleached Woodgrain

Paper Tape - Double Chevron

Paper Tape - Houndstooth

Paper Tape - Notebook Grid

Paper Tape - Sage Lace

Paper Tape - Sideways Chevron


Thursday, April 25, 2013

More Versatile Paper Tapes with Leah

Leah shows us many ways she used JBS Paper Tapes in one layout!

Checking in with some more ideas for using the brand new washi tapes that Jenni recently released! I decided that when I started this project I wanted to focus on how versatile washi is - and I think I accomplished my goal.


I started by layering this tape as an anchor or base for my design. And this one along the edges to give it a pop of color. I combined one more into the mix to create the washi banner pieces.


I used a number of the lovely Jenni Bowlin fiskars punches in different places throughout this layout, too.

My last use of the washi tape comes in the form of these feathers - I laid a bunch of the tapes down on a piece of cardstock and cut feathers using one of the exclusive silhouette cuts from  JBS Mercantile.


I hope I've given you a few ideas to spark your creativity!

~ Leah


Monday, April 22, 2013

Making Interactive Layouts with JBS Paper Tape

Amanda Jones shows us a great idea for using our JBS Paper Tapes!


It's no secret that I love Washi tape so I was thrilled to get my hands on Jenni's new tapes! I have used tapes in a variety of ways on my scrapbook pages in the past and for this layout I wanted to try something I've not done before.


I used the bleached woodgrain and double chevron Paper Tapes to attach the top sides of some pieces of patterned paper to my layout. I used the tape to create "hinges" so that the paper would be able to flip up and I could include my journaling/notes under the flaps. I did the same with the photo, so that it matched the page, although that piece does not flip up. I also created little tabs in the shape of banners with the tape to be used as taps to lift the flaps.


So that my page was balanced I used three strips of each tape around my page. I added a third tape, the sideways chevron, also three times to create more tabs and decoration.

Amanda

Supplies and links to our Paper Tape:


Saturday, April 20, 2013

Shimelle and her Goldilocks Washi Technique


I am delighted that Jenni has added washi tape to her line of scrapbooking products, and of course her tapes are patterned with classic designs that will mix and match with ease.  I wouldn't expect anything less!  But this is extra brilliant considering a roll of washi tape - even used frequently - can last a long while.  All of the JBS tapes are great designs for that long-term use, and you'll never have to worry that they will go out of style.


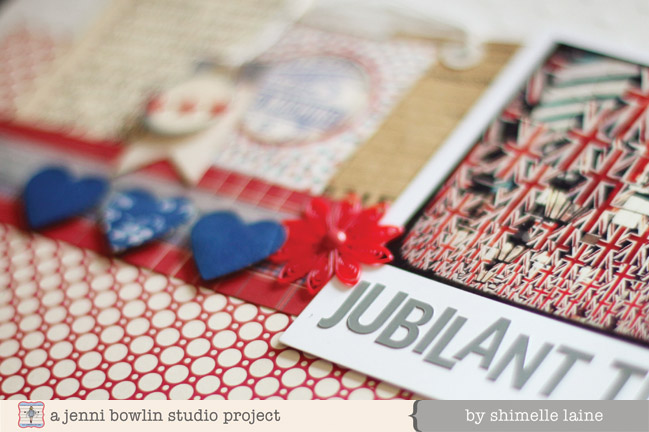
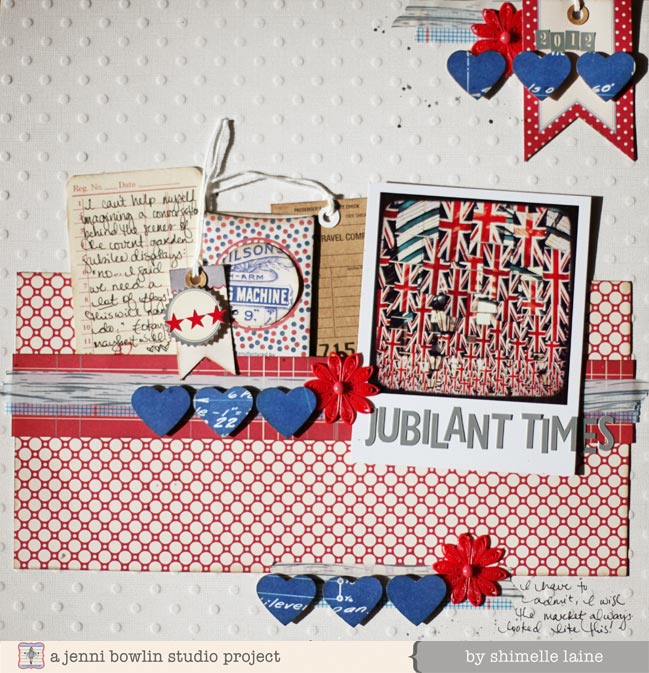
If you're starting to collect washi more than you use it, try a trick for letting it help you embellish a page design.  Pick two tapes that work together for your page, and use three strips of each: one long, one short, and one in between.  Perhaps we should call this the Goldilocks Washi Technique!


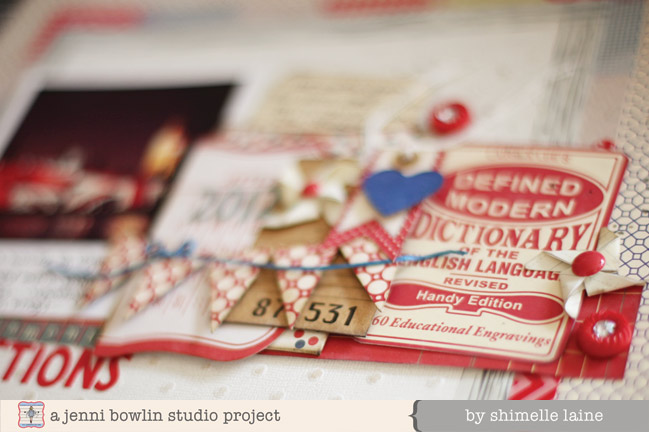
Placing these three pairs of tapes on your layout then makes it easy to embellish things for a design that will always work.  I used the blue grid and whitewashed woodgrain tapes, and my smallest set is up at the top right corner, the longest across the middle of the page, and the middle set at the bottom.  Then it's just a case of choosing some embellishments you can repeat in those three locations, so I used a heart punch with the lovely blueprint paper from the Wren collection and a red doily.  Placing those three groups of embellishments and my photo first made it easy to finish the rest of the page because the placement was obvious: all that space to the left of the photo!  So that became a great place for journaling and some tags.  Of course, for a multi-photo page, you could easily replace some of the tags with additional pictures.  By keeping the three sets of tapes all on the horizontal and using them to anchor those repeated embellishments, the rest of the page comes together without worry.  Give it a try!


If you fancy more inspiration for your JBS washi tapes (and more red, white, and blue JBS goodness!), I have another project to share with you on my blog.  You can find this project here, designed as the facing page in my album.  These two pages aren't a double page spread in the strictest sense, but they have enough in common to certainly coordinate side by side.  

Thank you Shimelle!  Jenni's selection of Paper Tape can be found in the wholesale store with the links below!